How to Take Pictures in Low Light with an iPhone?
Among various inventions and innovations of science, cellphones are believed to be the greatest of them all as through advancements made specifically in the field of cellular technologies the use of mobile cell phones not only satiates the primary need of communication but performing multiple functions from the same mobile phone has been made possible. Mobile hand sets nowadays are the gateway to the world, its one object that fulfils all technological needs of the individual from communicating with others, keeping up with the happenings of the world or making, storing and recording a memory by taking pictures or videos.
Apple iPhone after emerging in the market in the 2000s has taken the market by storm and ever since has always been a status symbol and among the top handsets. Along with different features and aspects from the buyers’ perspective, the camera is one significant feature that makes a cell phone distinct from the other. Apple IPhone has always updated its “pixel” quality with “built-in flash” and “dual camera” option i.e. back and front/ “selfie” camera. With all the advancements the camera photography outcome of the iPhone has not been as exceptional as the rest of its applications.
In the presence of natural light i.e. Sunlight, the result of iPhone camera pictures has been great but when the availability of light is low, dim, or dark/night, taking pictures is a challenge. The NIGHT MODE option is not available in the previous generations of IPhone i.e. 8, X, and XS though it can be added via “jail-breaker” and similar apps.
The good and professional pictures with iPhone have been a challenge and courses have been made to teach “how to take pictures like a PRO.” with IPhone. IPHONE PHOTOGRAPHY SCHOOL is giving tutorials and tips on how to take professional pictures with IPhone.
How to Take Pictures in Low Light with an iPhone?
Taking pictures in the dark is one of the most difficult things to do with the iPhone and it’s an established fact that NIGHT PHOTOGRAPHY IS A NIGHTMARE and IPhone performs worse at night or low/dim light. In comparison to DSLR Camera, the camera sensor size of IPhone is too small.
EMIL PAKARKLIS, founder of “IPhone Photography School” giving professional tips to take tack sharp IPhone pictures states “photography cannot take place in the absence of light” and the Camera is a light-capturing device. This tip is the basic science concept when there is NO light; it’s completely dark the object cannot reflect any light hence no reflected light will be captured by the camera sensor. So when talking of NIGHT photography we are actually trying to make the best possible use of the available light around you or you add light to the scene by using the “built-in” flash or external flash unit.
The IPhone built-in flash is weak and it works well when the scene/subject is close by or few feet away, not on scenes/ subjects that are far away so it is better to switch off the flash while taking a far off object/subject picture. The founder teaches us some basic techniques/tricks for taking pictures like a PRO in low/dim light, which are as follow:
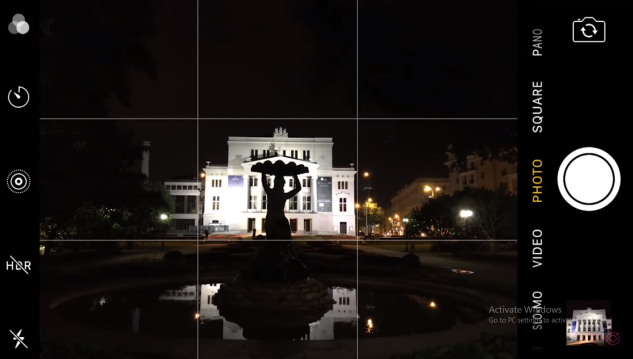
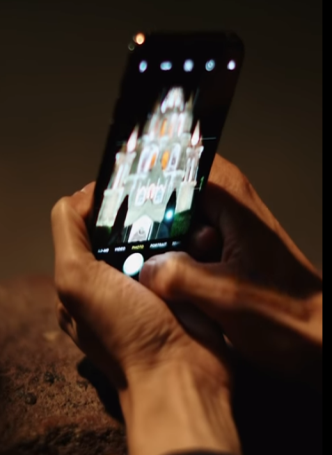
1. Illuminated Subject:
(landmarks, buildings, bridges, restaurants, hotels, lamp-lit streets, etc.)
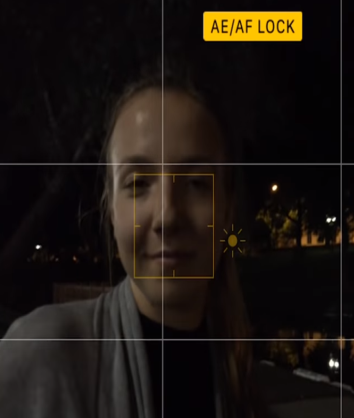
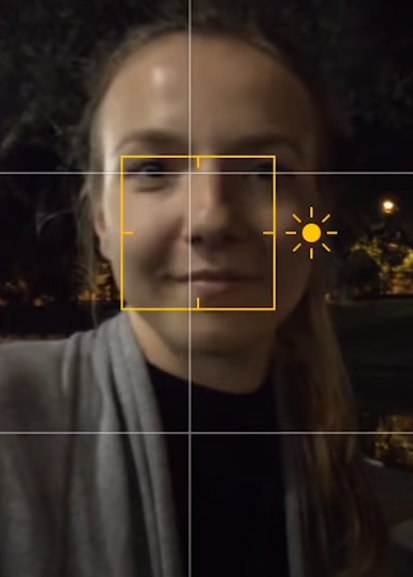
While taking a picture of an illuminated subject in low light or night skylights, you should reduce the exposure i.e. tap on the screen focused on the object/subject and drag down your finger reducing the exposure. This makes the main subject against the low light setting stay as it is in real and the surrounding light stays as it is e.g. if the subject is illuminated against the dark background/ dark night sky, the natural blackness of the sky remains black and doesn’t change or shift to orange or grey lights.

Certain Pro Photography terms made easy:
- ISO is the light sensitivity of the camera
- When you reduce the exposure the shutter speed becomes faster so less blur
- When ISO value lowers so lower/less grainy.
- When ISO is more, it is more light-sensitive so less light needed.
- When ISO is less, it is less light sensitivity and more light is needed.
USEFUL TIP: Since you are an iPhone user, you might want to see the Best iPhone Keyboards Apps this year.
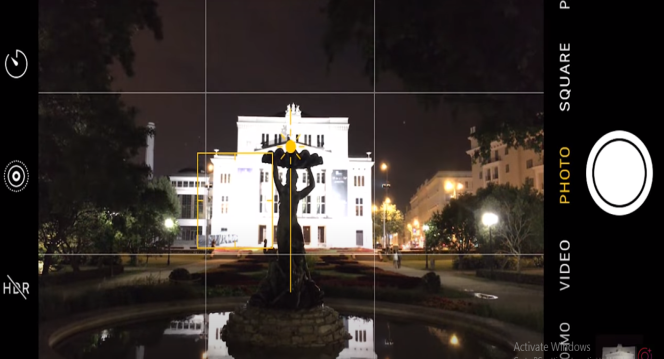
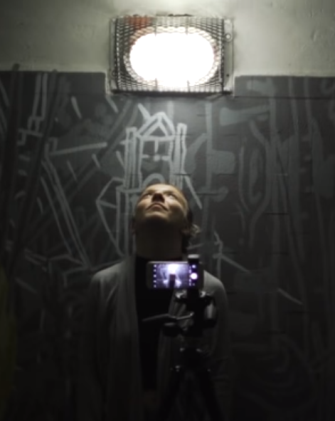
2. Light Source:
If the light source is just above the subject it will create a ‘spotlight’ effect giving some very creative, intriguing pictures by focusing on the subject and reducing the exposure. The outcome is that the subject is illuminated with its borders dimmed; the subject pops out from the shadows giving a mysterious touch to it.
3. Use of Flash:
Taking a close-up of the subject or when the subject is at a few feet, the built-in flash will be of help by throwing light over the subject and no natural shadows would be formed on the subject in the low light setting, this problem can be corrected by using an external flashlight at an angle.
One drawback in inbuilt-in flash is that the flash is close to the camera lens and in the picture, the light originates from the camera thus making the picture more lifeless with no natural shadows

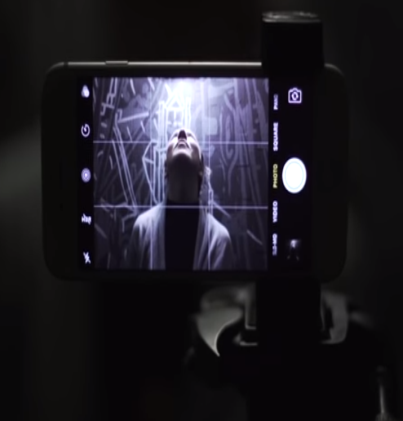
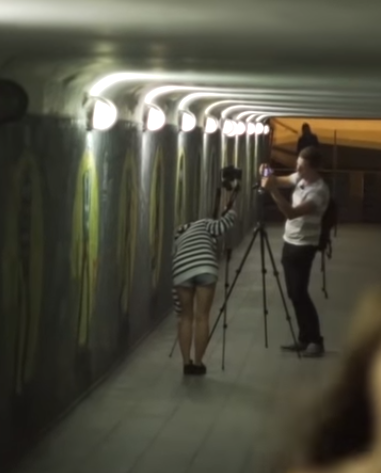
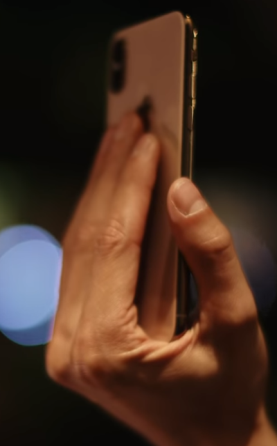
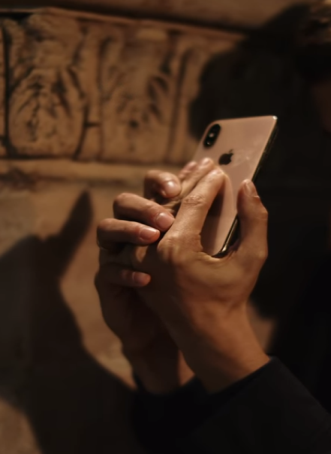
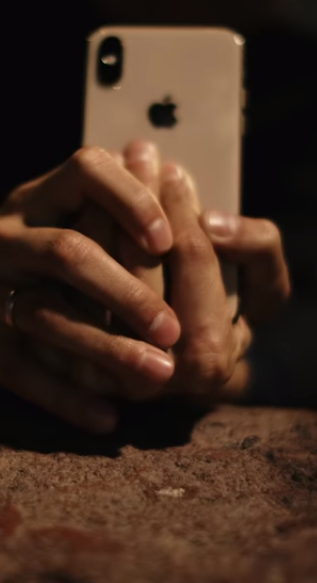
4. Have a steady grip:
A steady hand should be used or a tripod or support for the hand as when the hands are shaky the images will end up blurry. Always hold your iPhone correctly and steadily.
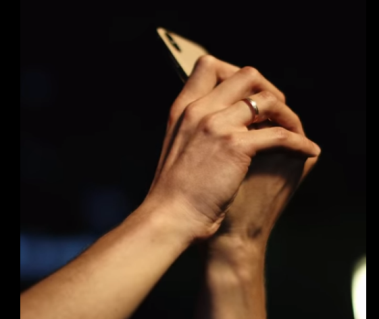
If Right Handed! Here’s How to Take Low Light Pictures with an iPhone!
Place the iPhone in your left palm and use the thumb and little finger to support the iPhone from the sides and the middle 3 fingers to support the back of the iPhone. With this grip one can get a very steady shot and can rotate between portrait and landscape orientation and one can conveniently carry the phone while not taking the photos, with your right hand you can further support your hand.


Another important thing is how one keeps his/her elbow. If the elbows are stretched then there will be a shaky picture as too much tension is created in the outstretched hand. So keeping the elbows bent the shakiness will be less and steady shots will be taken.
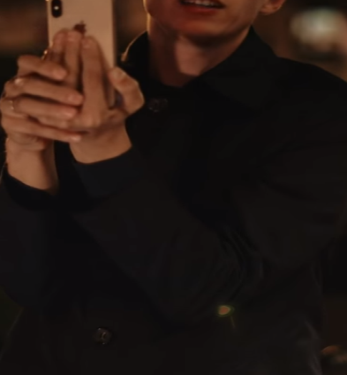
Most of the time one cannot maintain such steady postures so in that case, one must lean against a steady structure like a pillar, wall table, etc.
Conclusion
After all the discussion and how to take good pictures with IPhone in dim light, one should show patience as it’s a trial and error process and with practice, one would be able to take professional pictures.
PTA Taxes Portal
Find PTA Taxes on All Phones on a Single Page using the PhoneWorld PTA Taxes Portal
Explore NowFollow us on Google News!